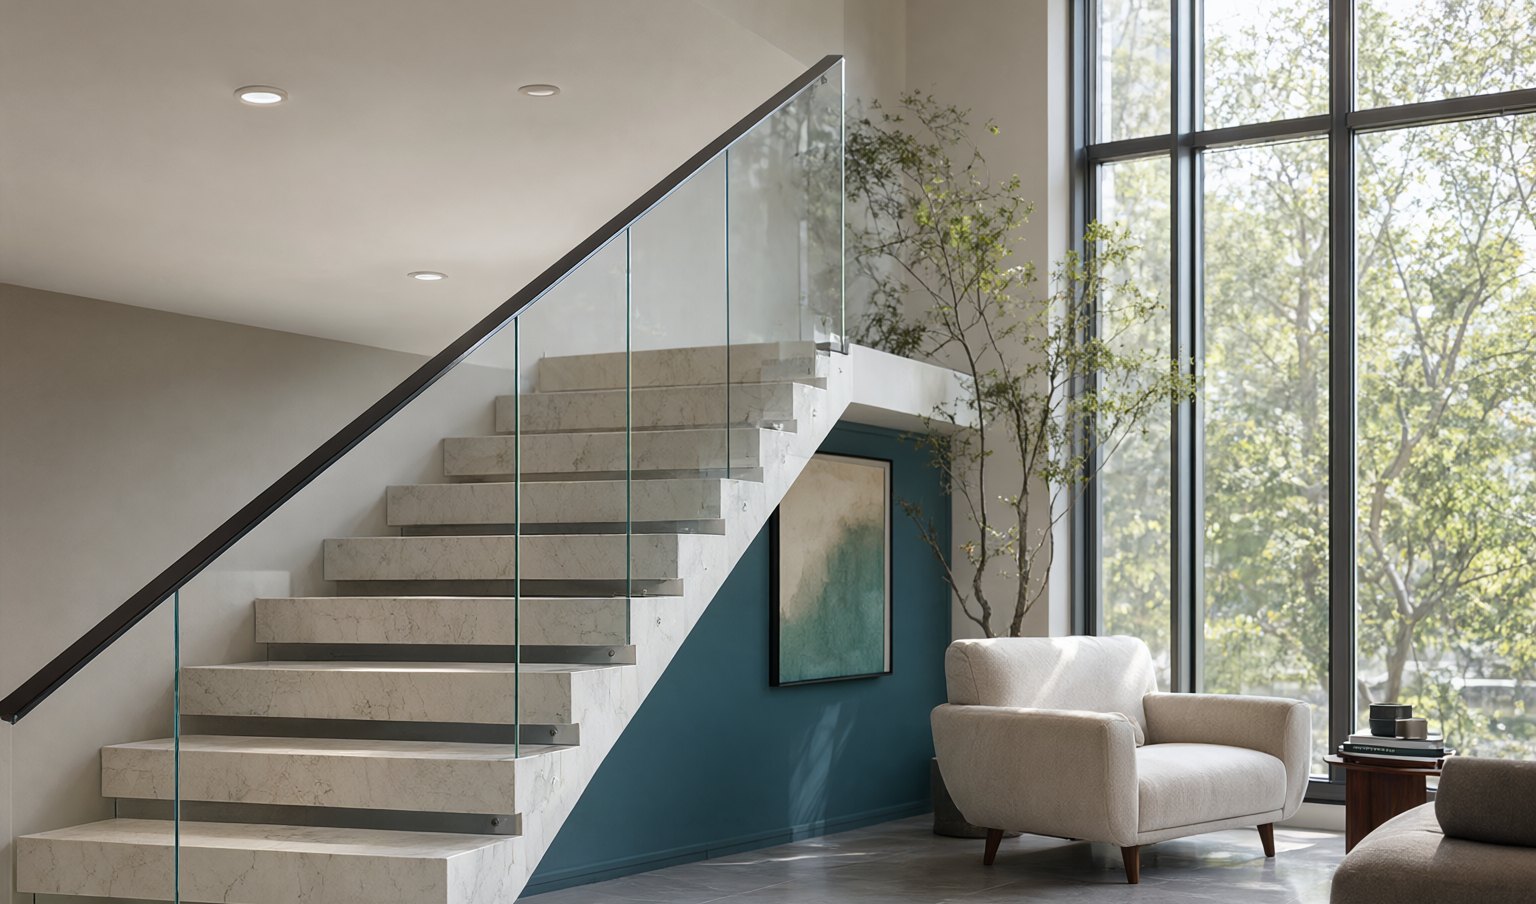
Glass balustrades work because they disappear. The absence of a solid barrier keeps the view and the daylight, but it also means every fixing, edge and glass layer is doing structural work that would otherwise be hidden inside a wall. A successful balustrade is therefore a system, not a sheet of glass selected from a catalogue.
Start with the duty, not the look
The glass build-up follows from how the balustrade will be used. A private apartment terrace, a hotel atrium, a shopping centre and a stadium concourse do not see the same loads or the same behaviour from the public. The specification should identify the occupancy, the barrier height, the loading standard, and whether the balustrade is internal or exposed to wind and rain.
For public spaces, crowd loading and the possibility of deliberate impact matter. For exterior balustrades, wind load, thermal movement and drainage are added to the list. The structural engineer should confirm the design loads before the glass thickness is fixed.
Choose the glass build-up
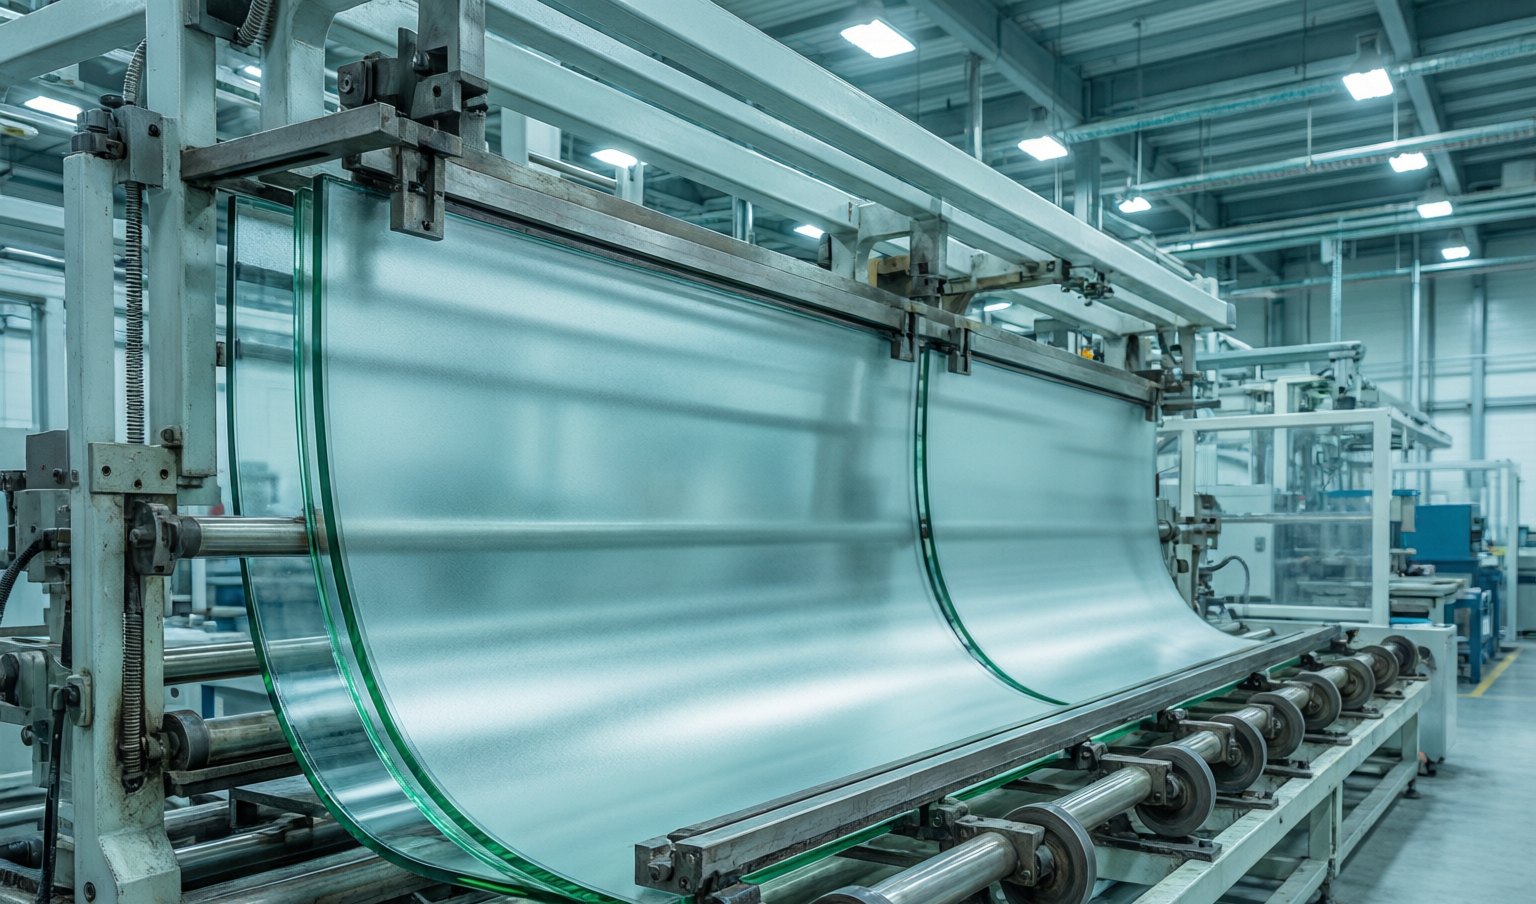
Laminated tempered glass is the usual choice for balustrades. Two or more tempered lites are bonded with a PVB or EVA interlayer so that the panel retains residual strength and stays in place if one lite breaks. Tempering gives the glass its design strength; lamination provides the post-breakage behaviour and keeps fragments together.
- Use heat-soaked tempered glass where nickel sulphide inclusion risk needs to be reduced, particularly for large or highly visible panels.
- Confirm the interlayer type and thickness with the balustrade designer for the required post-breakage performance.
- Specify polished edges on exposed glass, with edge quality agreed before production.
- Check that the glass thickness suits the panel span, fixing method and design load, not only the barrier height.
- For insulated or coated balustrades, confirm which surface carries the coating and how the edge is sealed.
Fixing methods change the glass requirements
A base shoe, a series of clamps, point fixings and a continuous channel all hold the glass differently, and each imposes its own requirements on edge quality, hole position and stiffness. The fixing method should be selected with the glass supplier, not after the glass has been ordered.
- Base shoe systems clamp the glass along its bottom edge and need a clean, straight edge with the correct cover.
- Clamps and standoffs concentrate load at discrete points and depend on accurate hole positions and bushing details.
- Point fixings require holes drilled before tempering, with generous edge distances and a confirmed structural check.
- Continuous channels need a flat bottom edge, correct setting blocks and a drainage path.
Whatever the method, isolation materials should separate glass from metal, and the design should avoid hard contact at the edge. Stainless steel or suitably protected steel should be used externally, with grades selected for the coastal or urban environment.
Deflection, movement and handrails
Glass balustrades deflect under load, and the allowable deflection is usually set by the structural designer or the applicable standard. Too much movement feels unsafe even when the glass is strong enough, and it can transfer load into adjacent panels through a continuous handrail.
Allow for thermal movement in long runs and for movement between the building structure and the balustrade. Where a handrail is fitted, its connections and splices should accommodate that movement without loading the glass edge. A continuous handrail can improve both safety and the perception of rigidity, but it must be detailed as part of the system.
Details that prevent early failure
Most balustrade problems appear at the edges and fixings rather than in the middle of the panel. Water sitting in a base shoe, a clamp tightened onto a damaged edge or a fixing that bears directly on glass can start a crack that grows over time.
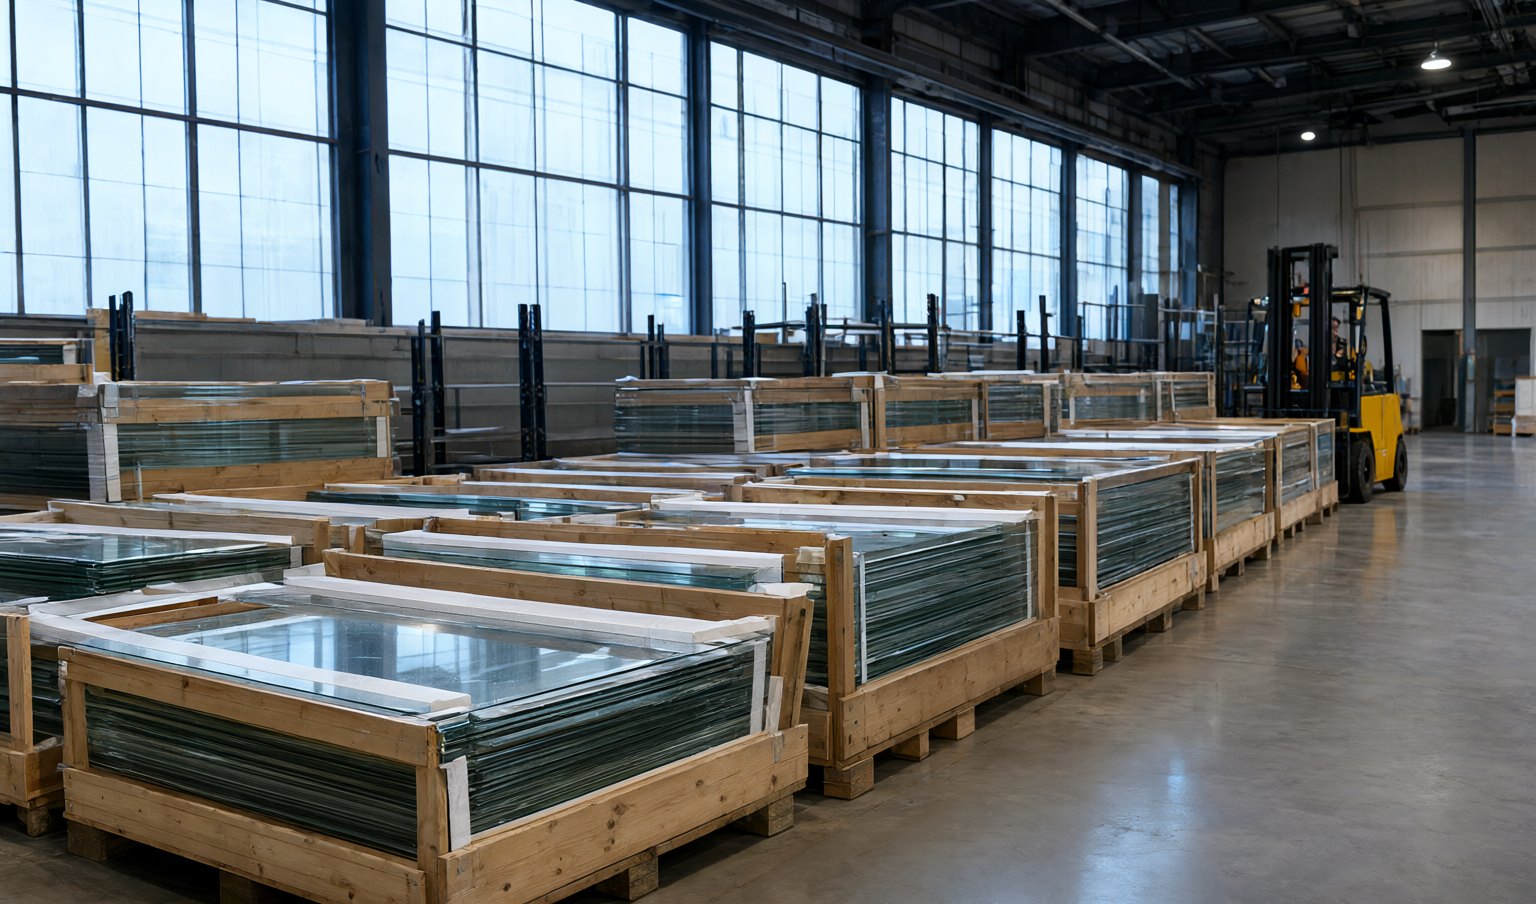
- Protect the glass edge during transport, storage and installation.
- Provide drainage and ventilation so water does not stand in shoes or channels.
- Use setting blocks and isolation pads exactly as detailed by the system supplier.
- Do not drill, cut or modify tempered glass on site.
- Keep construction loads and temporary attachments off the balustrade.
- Record the installation and inspect fixings and seals periodically.
A specification checklist
- Occupancy, barrier height and design load confirmed.
- Applicable standard and required post-breakage behaviour stated.
- Glass build-up, interlayer and heat soak treatment defined.
- Fixing method, edge cover and hole positions agreed with the supplier.
- Deflection limit, movement joints and handrail connections detailed.
- Edge finish, coating orientation and drainage resolved.
- Mockup or first-article approval required for prominent installations.
Making it work on site
Balustrade glass is only as good as the survey behind it. Openings should be measured after the structure is complete, fixing positions set out from the approved shop drawings, and panels labelled so they arrive at the correct location. A short installation sequence agreed in advance prevents panels from being handled twice or stored in a way that puts load on the edge.
Casada produces tempered, heat-soaked and laminated glass for balustrade applications, with edge polishing and controlled tolerances completed in-house. Our team reviews the fixing details, panel sizes and packing method with the balustrade contractor so that the glass arrives ready for the sequence on site. Production is managed under ISO 9001, QC 080000 and ISO 14000 systems certified by DNV.
Need glass for a project?
Send your drawings and requirements for a practical, project-specific proposal.