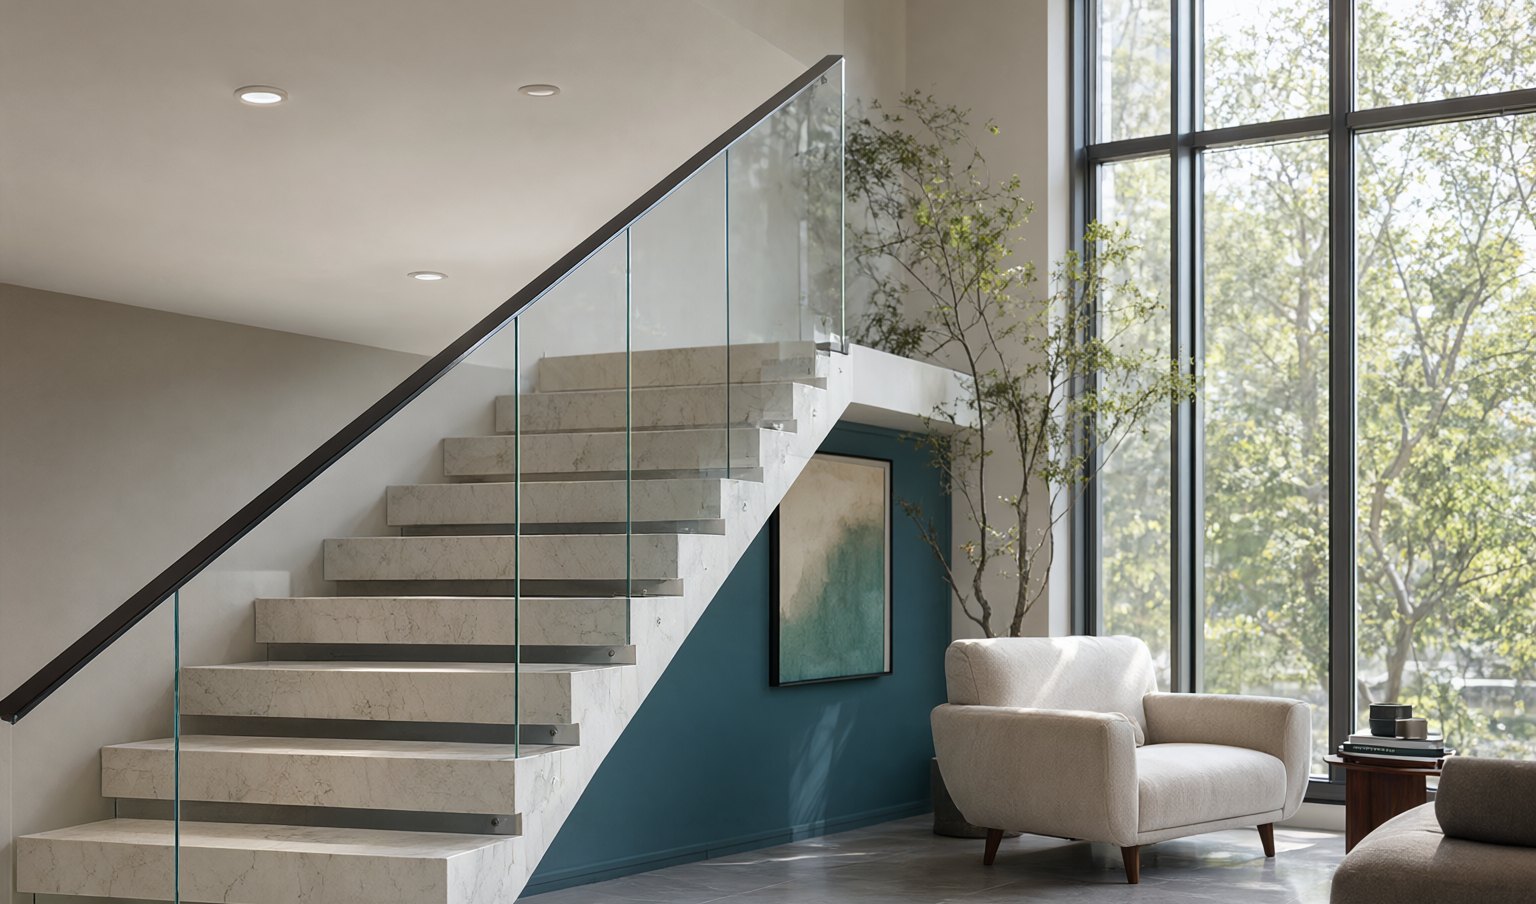
A curved glass panel looks like a small variation on a flat one until the drawing reaches production. The bend changes the way the glass is supported, tempered, laminated, packed and installed, and it introduces tolerances that flat glass does not have. Understanding those points early keeps a curved design buildable and avoids surprises at the mockup stage.
How architectural glass is bent
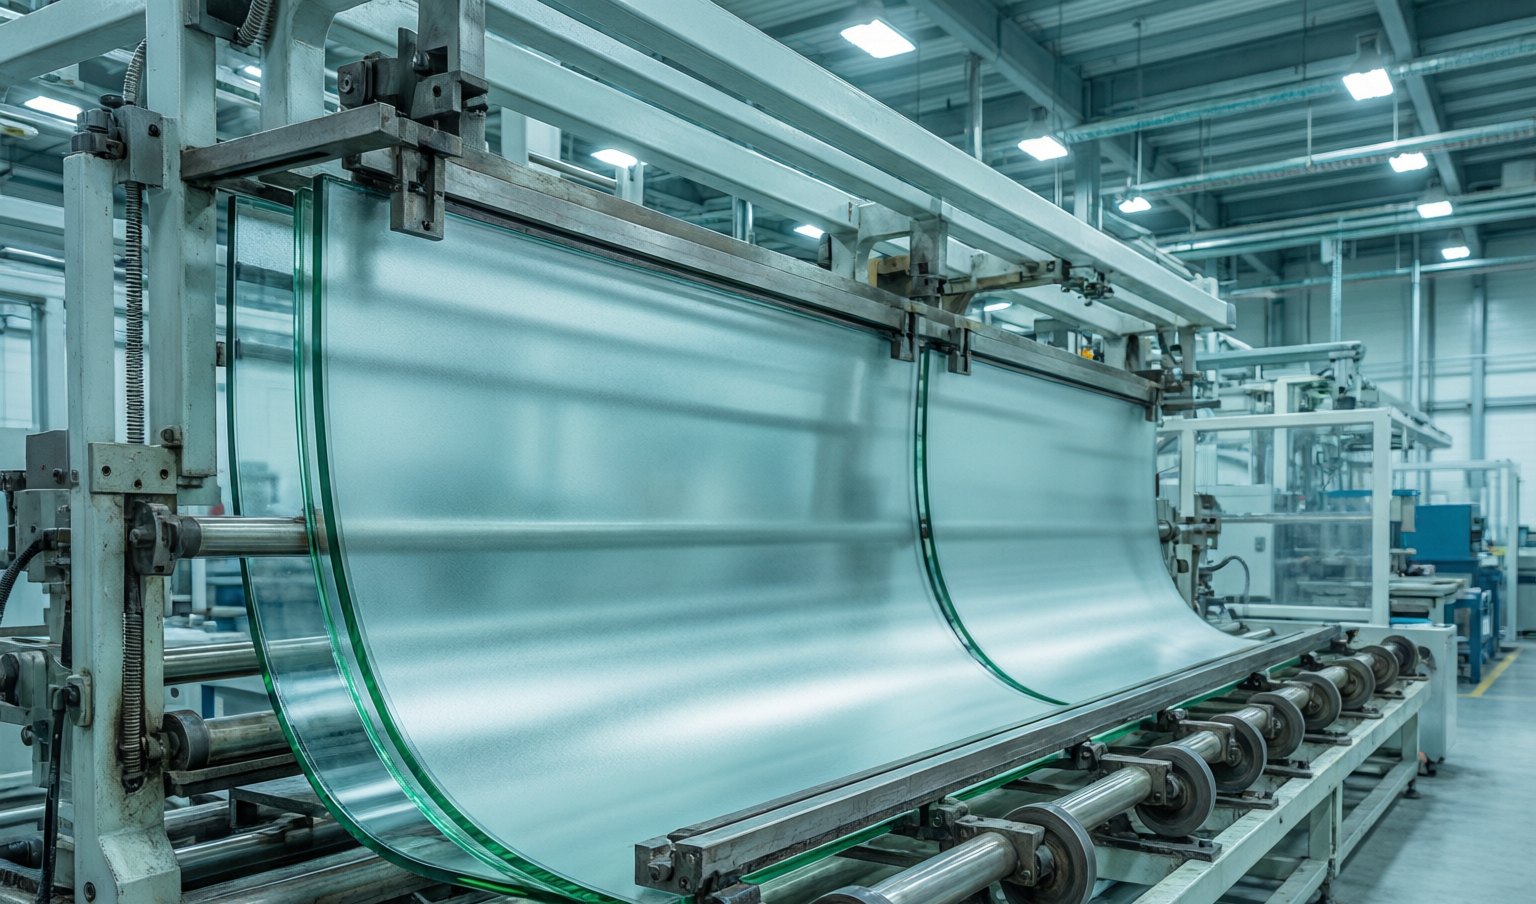
Most architectural bending is done by heating glass until it softens and letting it sag or press against a shaped mould. Cylindrical bends curve in one direction and are the most common. More complex shapes curve in two directions and need custom tooling, closer process control and a realistic allowance for optical distortion.
The sequence matters. Bent tempered glass is usually shaped first and tempered afterwards, so the bend must survive the rapid cooling cycle without losing its geometry. Bent laminated glass combines shaped lites with an interlayer, which adds thickness and can affect the final radius. Each route has different limits, and the limits should be confirmed for the actual glass type rather than assumed from a generic table.
What sets the practical limit
There is no single maximum radius that applies to every project. The practical limit depends on the combination of factors below, and a factory check is the only reliable answer for a specific panel.
- Radius relative to glass thickness: a tighter curve concentrates more stress and usually calls for a thinner lite or a different production route.
- Panel size and arc depth: long panels with a deep sag are harder to keep uniform than small, shallow bends.
- Shape: cylindrical bends are simpler than compound curves, which need matched tooling and a longer trial cycle.
- Coating: low-E and reflective coatings have their own bending limits, and the coated surface must face the correct side of the curve.
- Holes and cutouts: drilling before tempering is normal, but holes close to the bend zone can distort or crack.
- Build-up: laminated and insulated curved units multiply the tolerance stack because every layer has to match.
Tolerances to agree before production
Flat glass tolerances do not transfer directly to a curved panel. The approval drawings should define what is measured and how, so that the factory and the installer are working to the same numbers.
- Chord length, arc height and radius, with a clear datum for each.
- Template fit, especially where panels meet a curved frame or a neighbouring panel.
- Edge straightness and corner squareness after bending.
- Optical distortion and roller wave, which are visible in reflection even when dimensions are correct.
- Hole and cutout positions relative to the arc, not only to the panel edge.
- Thickness and flatness for laminated or insulated curved units.
For prominent feature glass, a physical sample or mockup is worth the extra cycle. It shows the real reflection, edge colour and distortion under the project lighting before the full order is released.
Details that should stay out of the bend zone
Most curved glass problems come from small features placed where the glass is working hardest. Keep holes, notches and tight cutouts away from the curved area where possible. If a fixing must sit near the bend, provide its position on the shop drawing and let the factory confirm the route before drilling.
Edgework also deserves early attention. Polished edges reduce the risk of handling damage and look correct on exposed panels. On laminated curved glass, the interlayer and edge seal need to follow the curve cleanly, particularly for exterior use where water can reach the edge.
Tooling, samples and lead time
Curved glass carries tooling and setup time that flat glass does not. A new radius or compound shape may need a mould, a trial panel and a first-article inspection. The earlier the shape is frozen, the more efficiently those steps can be scheduled.
Changes after tooling has started are expensive because the mould, the trial panel and the approval may all need to be repeated. Freeze the radius, arc height, panel sizes and fixing positions before releasing the order, and keep later revisions to a minimum.
Packing and installation
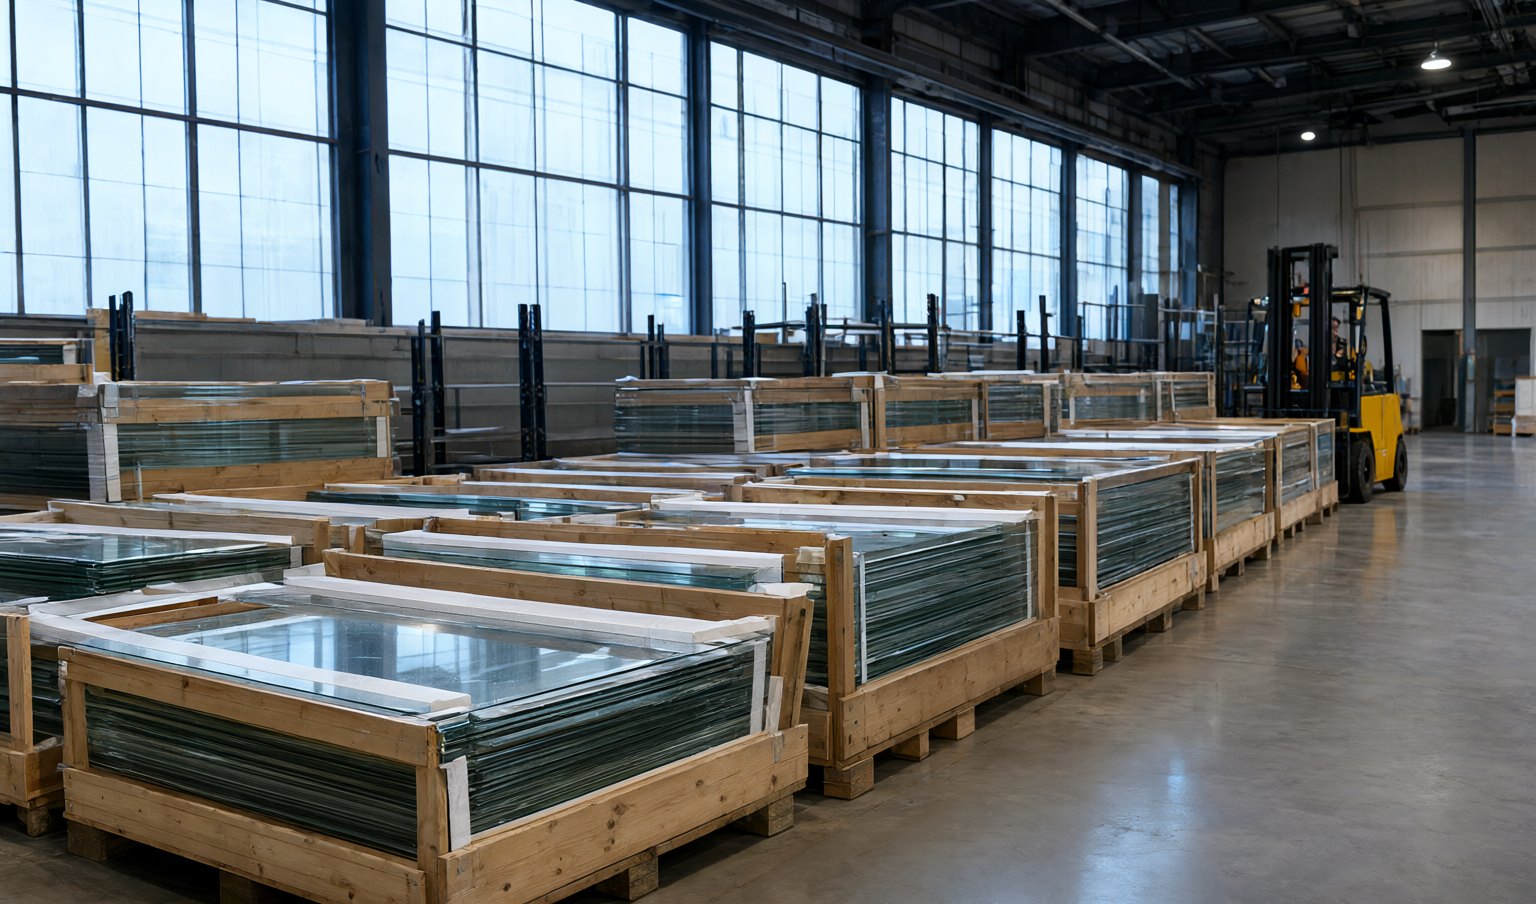
Curved panels need purpose-built crates with shaped supports so the glass does not rock or bear on the arc during transport. The packing plan should account for the panel orientation, the unloading method and the route to the installation point. On site, panels should be stored vertically in the same supports and handled with lifting equipment rated for the weight and shape.
Installation sequence matters as much as the glass itself. Curved units are less forgiving of frame misalignment, so the opening should be surveyed and the fixing points set out before the first panel arrives. Allow adjustment at the interfaces rather than forcing the glass to correct a frame error.
What to send with an enquiry
- Architectural drawings, DWG files or a 3D model showing the curve.
- Radius, chord length, arc height and panel height for each type.
- Glass build-up, thickness, coating and interlayer requirements.
- Hole, notch and fixing positions, with tolerances.
- Quantities, spare panels, delivery date and site access constraints.
- The applicable standard and any visual quality requirements.
One production route for the whole panel
Casada bends, tempers, laminates and insulates glass in Guangdong, which keeps the curved panel on one production route instead of passing between separate suppliers. Our team reviews the drawing, the tooling and the build-up together, then confirms the tolerances and packing method before production starts. Quality is managed under ISO 9001, QC 080000 and ISO 14000 systems certified by DNV, with heat soak treatment available for tempered panels where the project requires it.
Need glass for a project?
Send your drawings and requirements for a practical, project-specific proposal.